Signoz data collector 설치하기 (frontend)
2024. 4. 9. 14:08ㆍIT
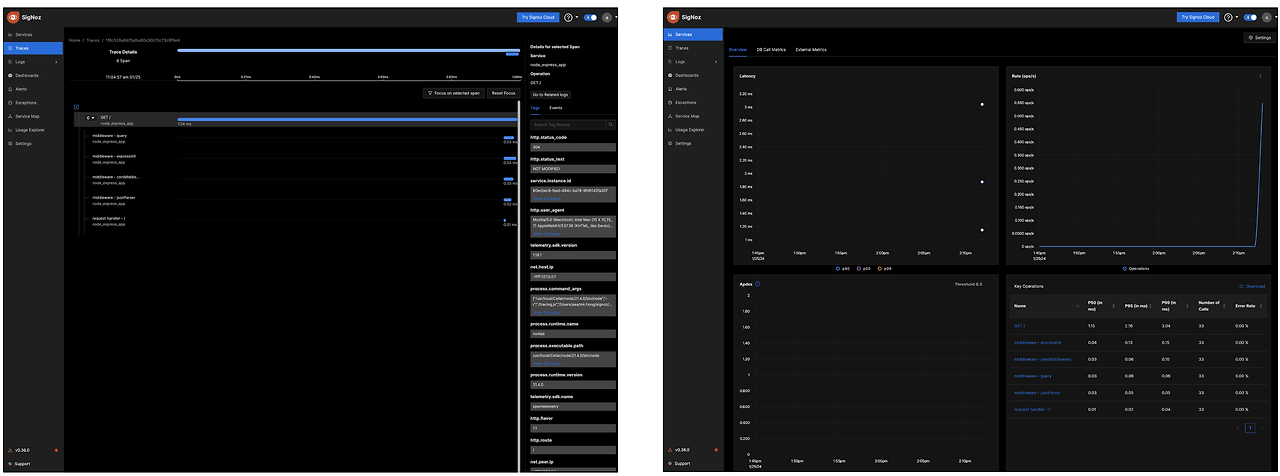
signoz가 설치된 내부서버에서 forntend application trace data 통신 테스트
HotROD 설치 스크립트를 사용하여 애플리케이션 배포하기 & locust 부하 테스트
curl -sL https://github.com/SigNoz/signoz/raw/develop/sample-apps/hotrod/hotrod-install.sh \
| HELM_RELEASE=my-release SIGNOZ_NAMESPACE=platform bash- 상태확인

부하실행
kubectl --namespace sample-application run strzal --image=djbingham/curl \
  --restart='OnFailure' -i --tty --rm --command -- curl -X POST -F \
  'user_count=6' -F 'spawn_rate=2' http://locust-master:8089/swarm
부하 중지
kubectl -n sample-application run strzal --image=djbingham/curl \
  --restart='OnFailure' -i --tty --rm --command -- curl \
  http://locust-master:8089/stop
실전 외부환경에서 trace data 통신하기
OpenTelemetry 종속성 패키지 설치
npm install --save @opentelemetry/sdk-node
npm install --save @opentelemetry/auto-instrumentations-node
npm install --save @opentelemetry/exporter-trace-otlp-http
tracing.js 파일 생성
// tracing.js
  'use strict'
  const process = require('process');
  const opentelemetry = require('@opentelemetry/sdk-node');
  const { getNodeAutoInstrumentations } = require('@opentelemetry/auto-instrumentations-node');
  const { OTLPTraceExporter } = require('@opentelemetry/exporter-trace-otlp-http');
  const { Resource } = require('@opentelemetry/resources');
  const { SemanticResourceAttributes } = require('@opentelemetry/semantic-conventions');

  const exporterOptions = {
    url: 'http://3.38.252.232:32529/v1/traces'
    //url: 'http://localhost:4318/v1/traces'
  }

  const traceExporter = new OTLPTraceExporter(exporterOptions);
  const sdk = new opentelemetry.NodeSDK({
    traceExporter,
    instrumentations: [getNodeAutoInstrumentations()],
    resource: new Resource({
      [SemanticResourceAttributes.SERVICE_NAME]: 'mathcell-vertical-media-app'
    })
    });

    // initialize the SDK and register with the OpenTelemetry API
    // this enables the API to record telemetry
    sdk.start()

    // gracefully shut down the SDK on process exit
    process.on('SIGTERM', () => {
      sdk.shutdown()
      .then(() => console.log('Tracing terminated'))
      .catch((error) => console.log('Error terminating tracing', error))
      .finally(() => process.exit(0));
      });
Application 실행
node -r ./tracing.js app.jsapp.js를 실행하기전에 추적 tracing.js를 먼저 실행하여 tracing 데이터들을 수집하고 보내야 한다.
내가 진행한 방법
git clone하여 index.js, traing.js 두개의 파일을 사용
주의사항
url: 'http://localhost:4318/v1/traces'
trace data를 수집하여 어디로 보낼지 정한다.
나의 겨우 signoz-otel-collector를 nodeport로 expose 하여 해당 nodeIP:nodePort로 전송하게 만들었다. → url: 'http://3.38.252.232:32529/v1/traces'
eks에서 nodeport를 expose하는 경우에 inbound 규칙에 해당 port를 허용해줘야한다. (그래야 전송 가능)[SemanticResourceAttributes.SERVICE_NAME]: 'node_express_app'
trace data를 보낼때 어떤 application 이름으로 보낼지 정한다.
그 후
node -r ./tracing.js index.js동일하게 진행한다.
'IT' 카테고리의 다른 글
| Signoz 외부 서버에서 metric data 수집하기 (0) | 2024.04.09 |
|---|---|
| 외부 ElasticBeanstalk에서 개발한 환경에서 trace data 수집해오기 (frontend) (0) | 2024.04.09 |
| Signoz 실행, 중지, 삭제 다루는 법 (0) | 2024.04.09 |
| Signoz 서비스 expose (0) | 2024.04.09 |
| EKS위에 Signoz 설치 방법 (0) | 2024.04.09 |